0. Note:
This tutorial continues for Getting started --> Using mbed-OS --> GNU ARM Embedded & Eclipse IDE document.
1. Setup
1.1. Install pyOCD
-
pyOCD is an open source program that allows programming and debugging of ARM Cortex-M microcontrollers using the CMSIS-DAP (DAPLink) interfaces.
-
pyOCD is built using the Python programming language, and of course it supports multiple platforms: Windows, Linux and OSX.
-
For installation, see at [HERE] (https://github.com/mbedmicro/pyOCD)
-
After installing successfully, try typing pyocd-flashtool at the terminal, if the operating system does not recognize the path, you need to add the path of pyOCD to the PATH environment variable.

1.2. Install OpenOCD
-
pyOCD was mbed team designed for CMSIS-DAP (DAPLink) interface, OpenOCD is a software with similar functionality but can work with DAPLink (CMSIS-DAP) and many other tools such as Jlink , ST-Link, Ulink, redbee-usb, ….
-
If you have installed the GNU ARM Eclipse plugin for Eclipse as instructed at `Getting Started -> Using mbed-OS -> GNU ARM Embedded & Eclipse IDE, OpenOCD is already installed on your computer. If you use Windows OS, OpenOCD can be installed into the path as below
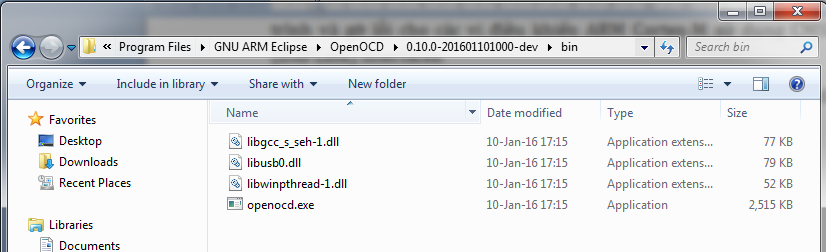
- You can also install OpenOCD from HERE
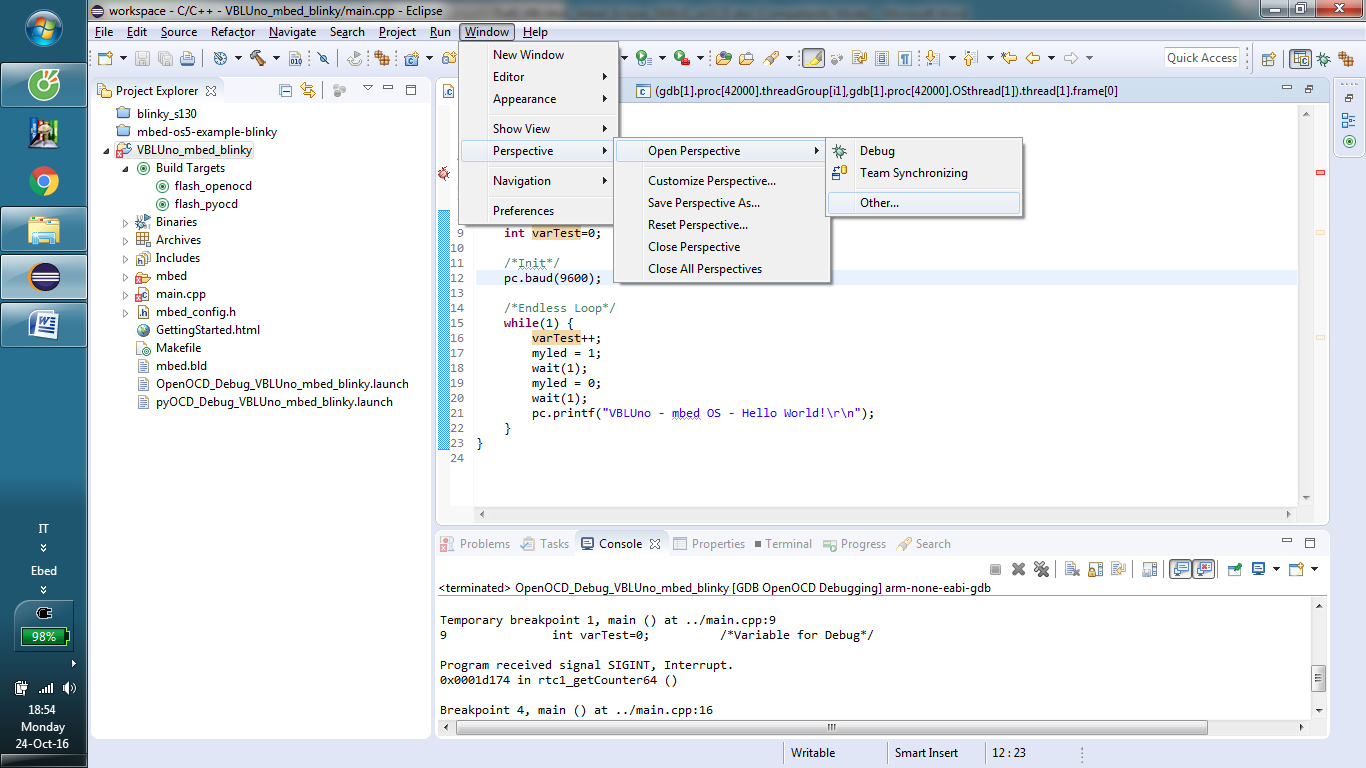
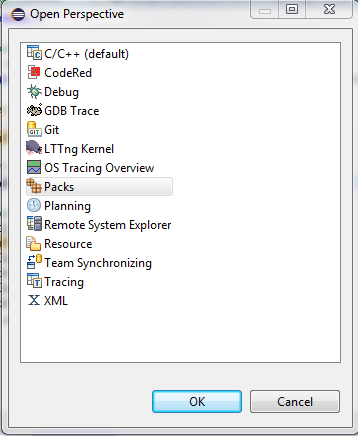
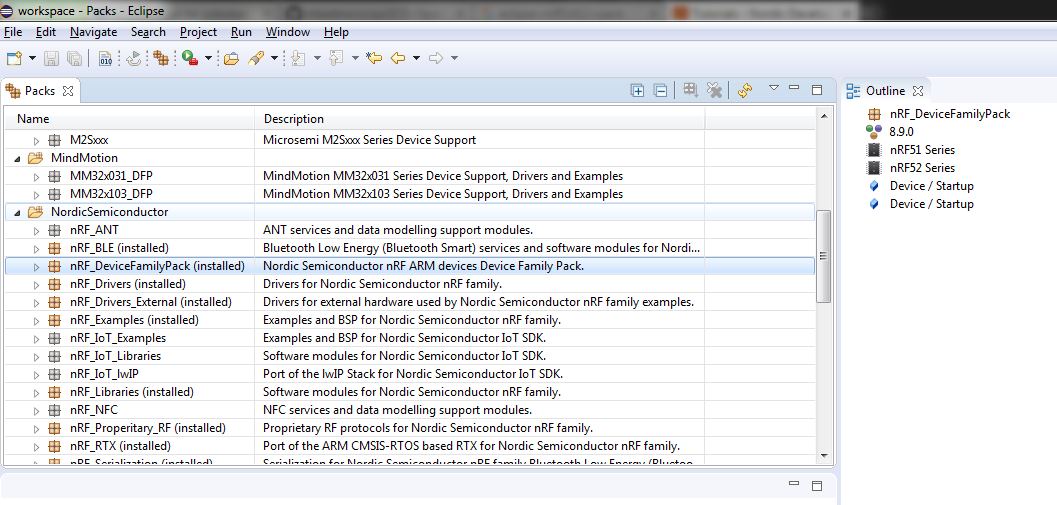
1.3. Install Device Packs for Eclipse
The chip vendor’s device packs help the GNU ARM Eclipse plugin display information about the peripherals, registers, memory, and so on of the chip while we are debugging. You install according to the following image
2. Flashing/Debugging for the VBLUno51 board on Eclipse.
2.1. Load program
- Edit Makefile:
Add the following lines to the end of the file:
flash_pyocd:
	@echo ------------------Flashing by pyOCD: combined.hex------------------
	pyocd-flashtool $(OBJDIR)/combined.hex

flash_openocd:
	@echo ------------------Flashing by OpenOCD: combined.hex------------------
	"C:/Program Files/GNU ARM Eclipse/OpenOCD/0.10.0-201601101000-dev/bin/openocd.exe" -f "C:/Program Files/GNU ARM Eclipse/OpenOCD/0.10.0-201601101000-dev/scripts/interface/cmsis-dap.cfg" -f "C:/Program Files/GNU ARM Eclipse/OpenOCD/0.10.0-201601101000-dev/scripts/target/nrf51.cfg" -c "program $(OBJDIR)/combined.hex verify reset exit 0x0"
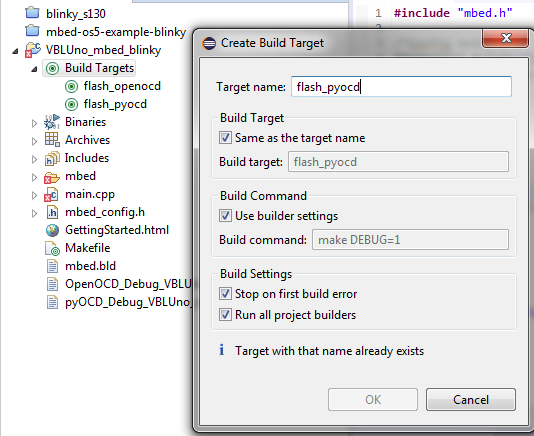
- Create target:
Create 2 target with name flash_pyocd and flash_openocd:
- Load executable file into the VBLUno51 board
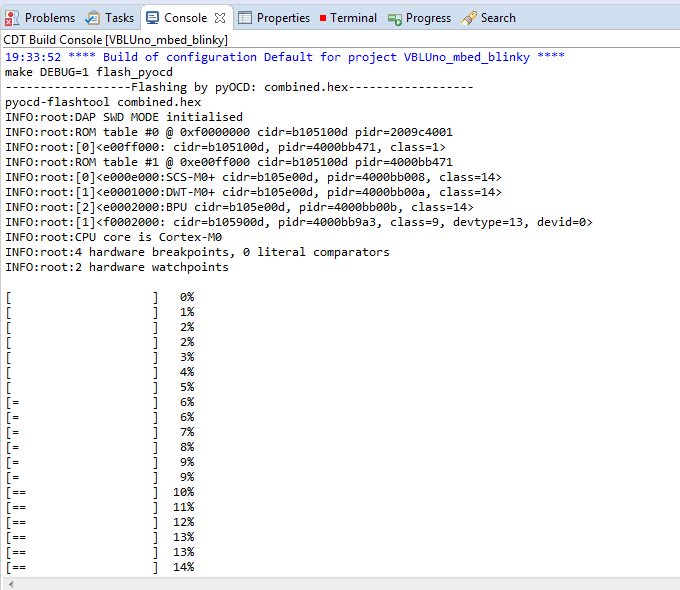
After the build project, to load the program for the board with pyOCD, double-click target flash_pyocd. Same for OpenOCD.
The below image appears when loaded with pyOCD
The below image appears when loaded with OpenOCD
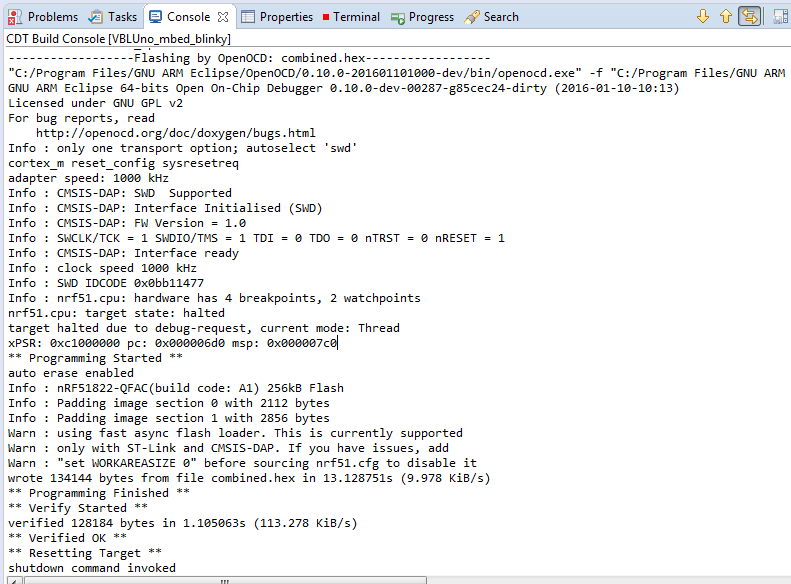
Once loaded, the board will be reset and the program will be run automatically.
2.2. Debug with pyOCD
- Note about Makefile
The following lines should be included in the Makefile (as described in the article Getting Started -> Using mbed-OS -> GNU ARM Embedded & Eclipse IDE).
ifeq ($(DEBUG), 1)
  C_FLAGS += -DDEBUG -O0 -g3
  CXX_FLAGS += -DDEBUG -O0 -g3
else
  C_FLAGS += -DNDEBUG -Os
  CXX_FLAGS += -DNDEBUG -Os
endif
- Edit Build command
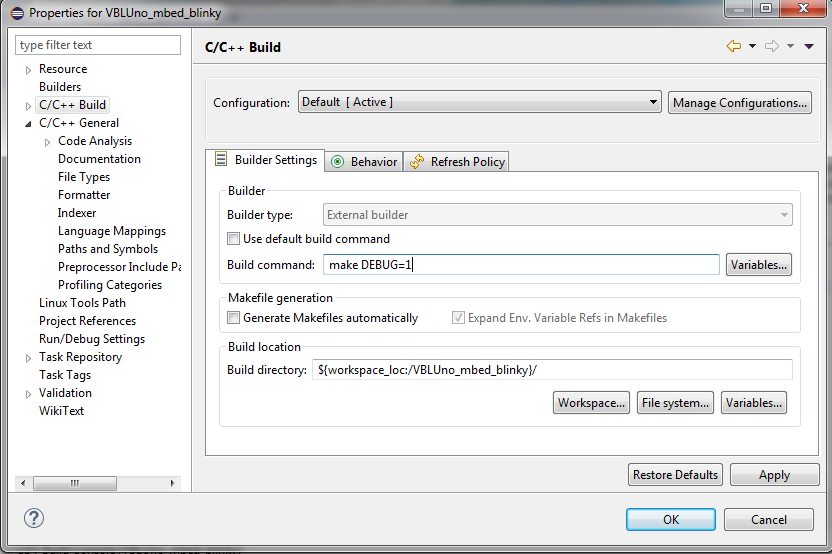
-
Build project again
-
Configure debug interface
Right click on Project -> Select Debug Configurations
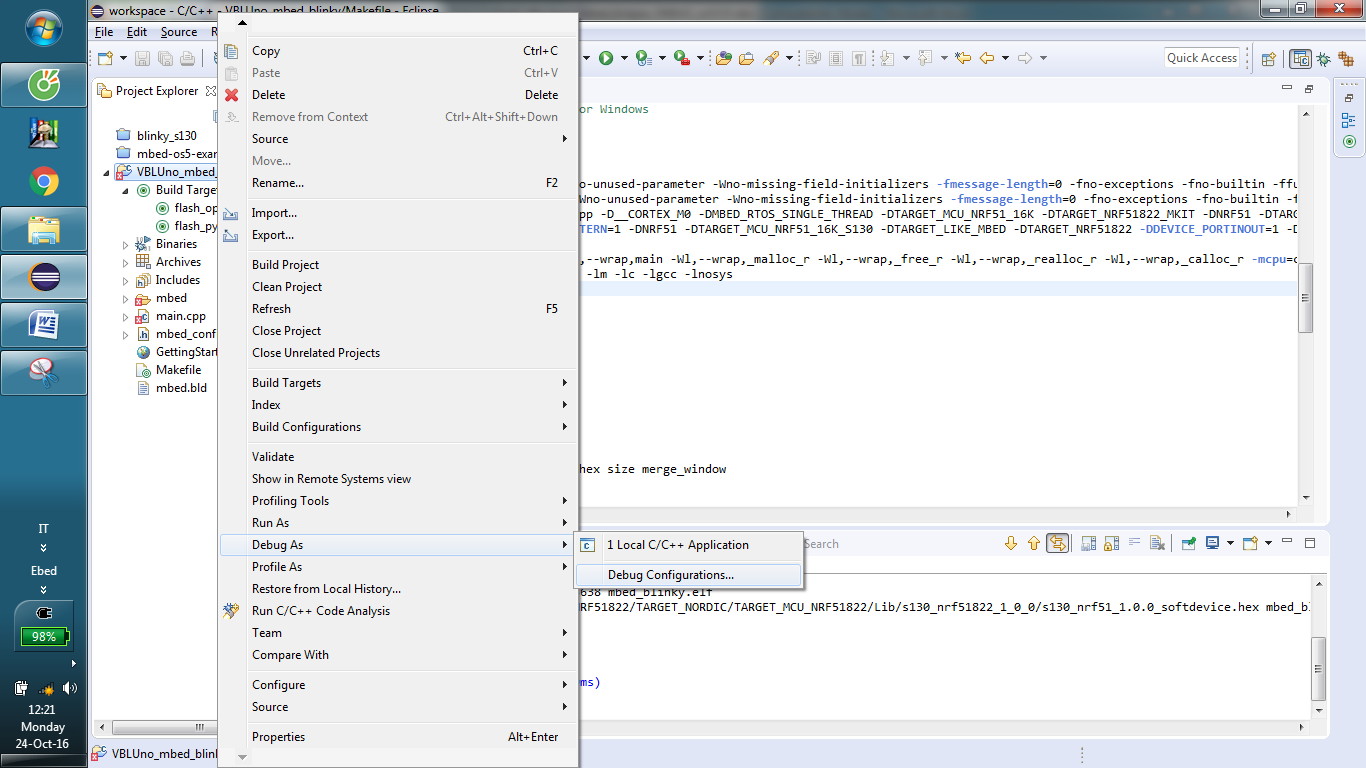
Double click on GDB pyOCD Debugging to create a new debug configuration:
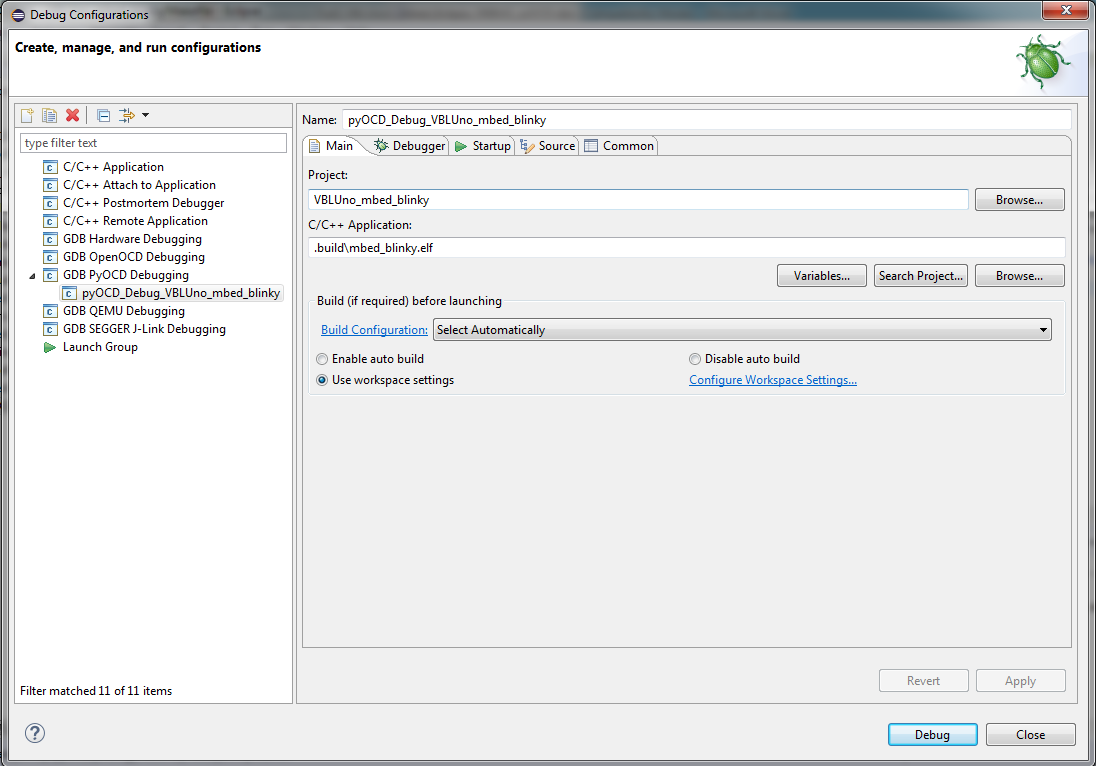
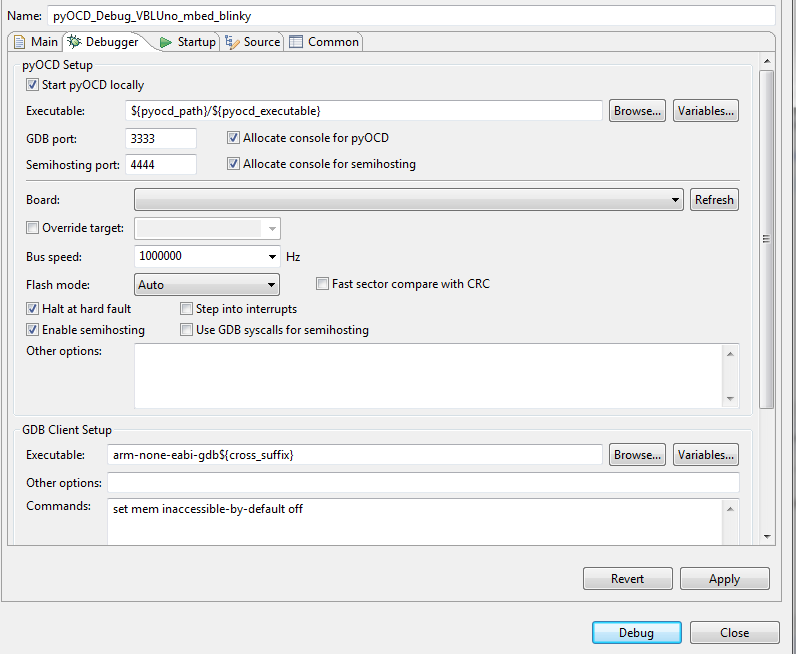
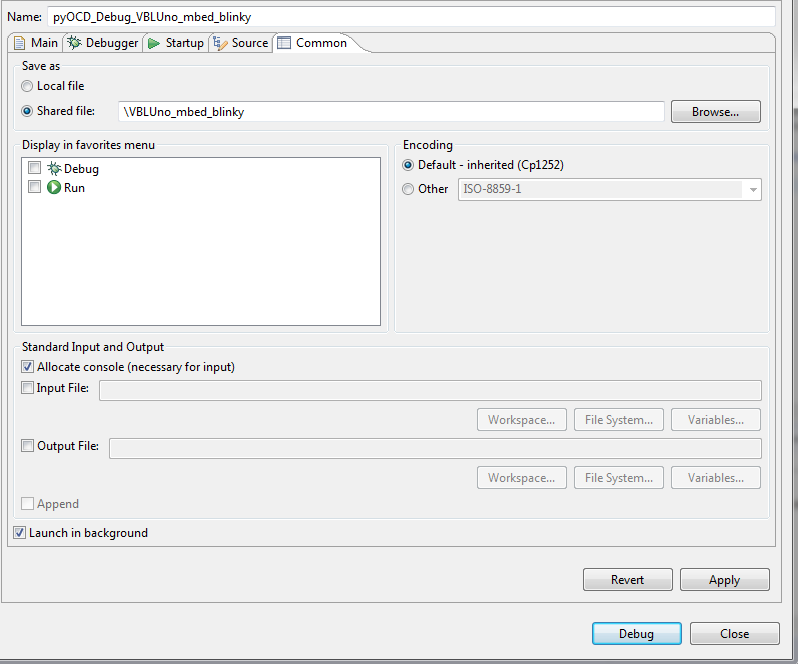
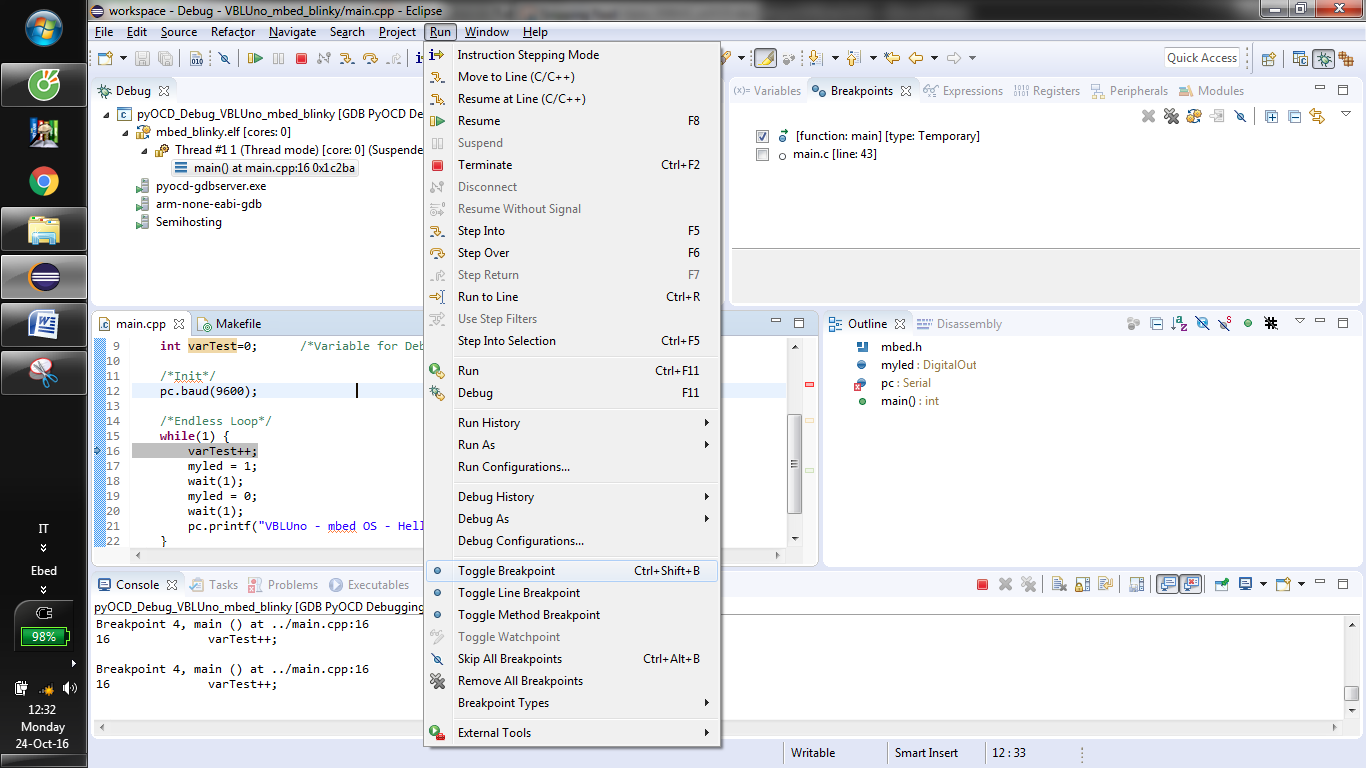
- Press
Debugto start the debug process

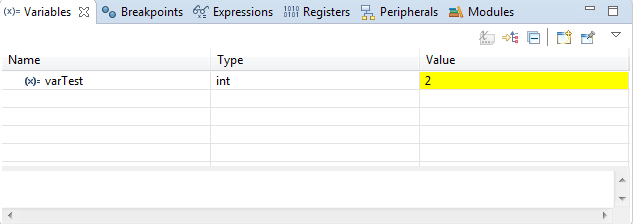
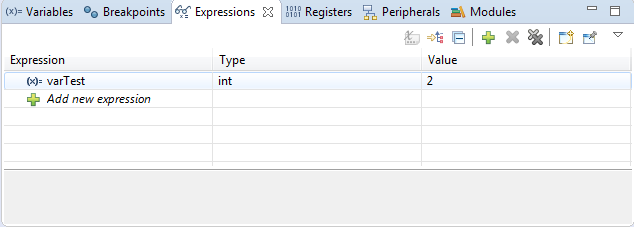
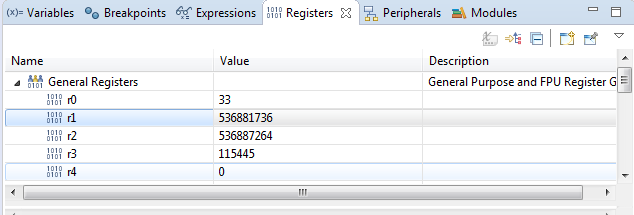
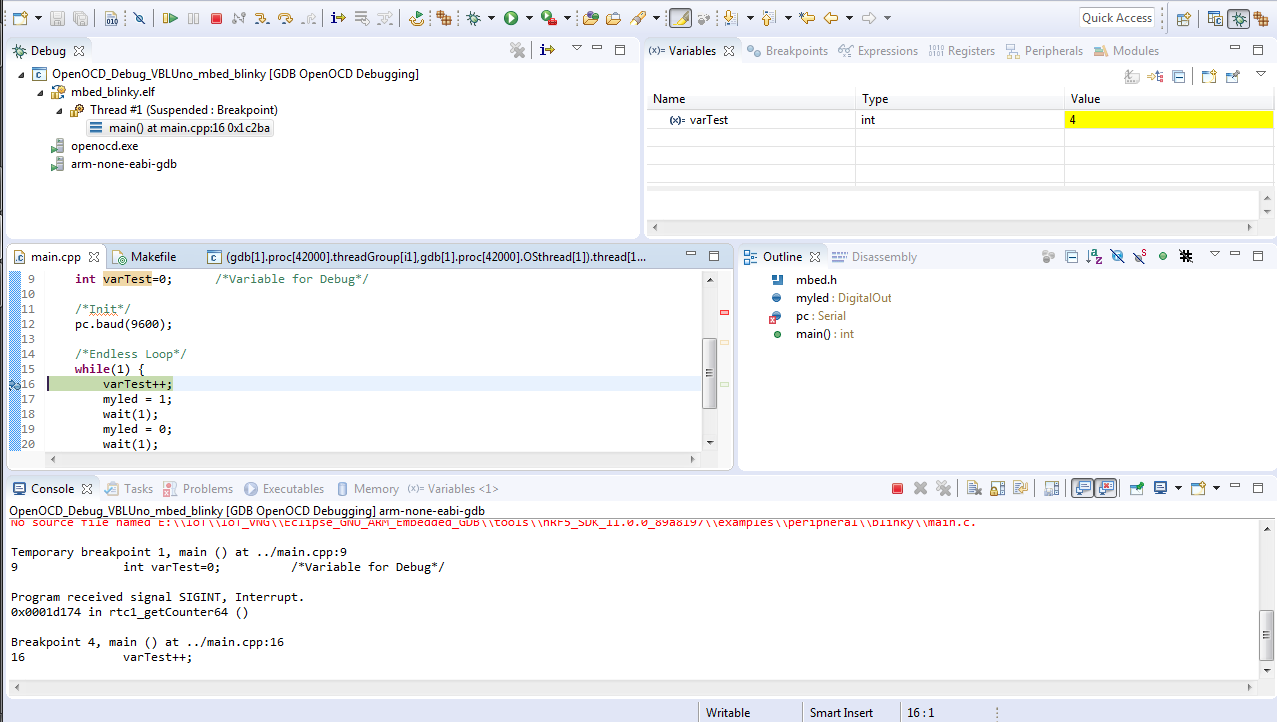
pyOCD supports full common debugging features such as Run, Pause, Stop, Step Into, Step Over, Run to Line, Breakpoint, Watch for variables and expressions….Beside that, also support to Registers, Memory viewer.
Some illustrations:
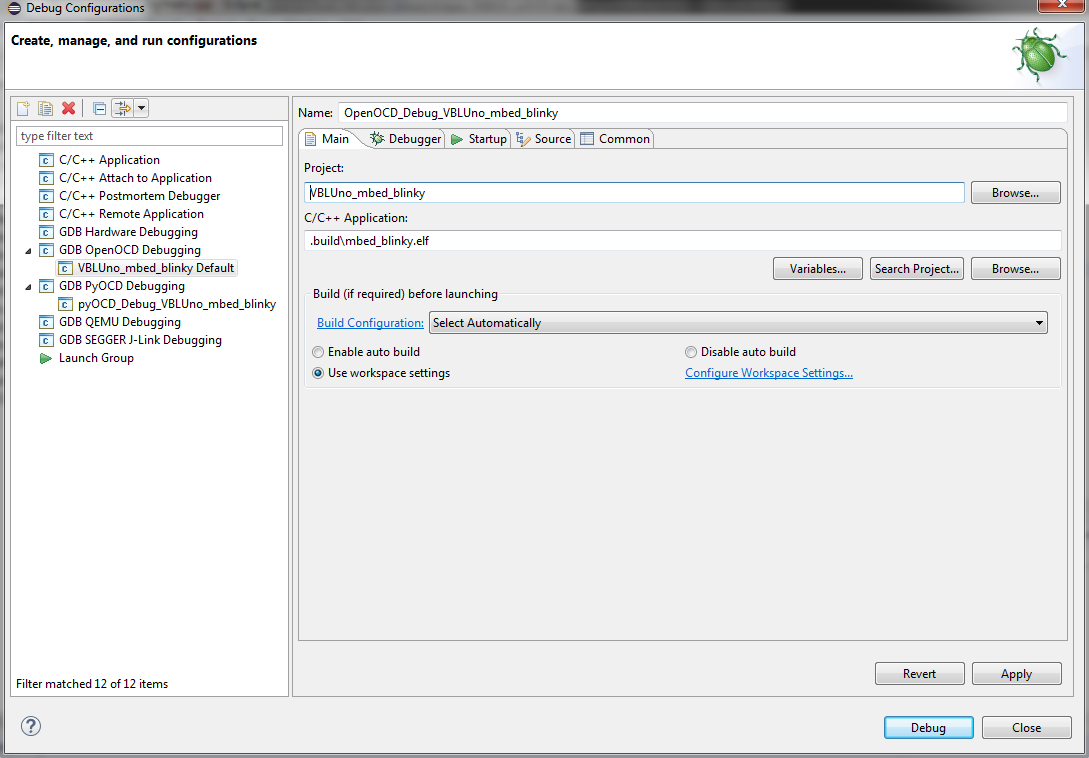
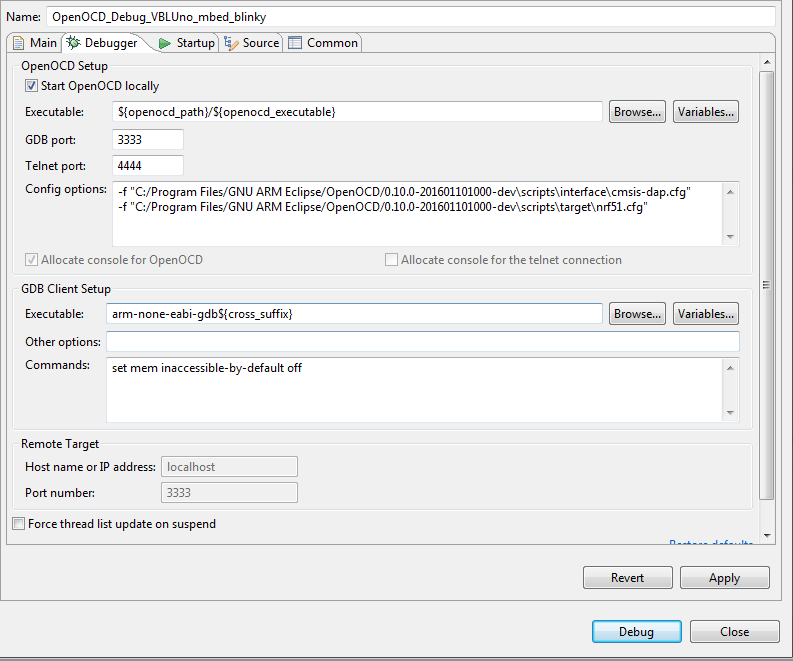
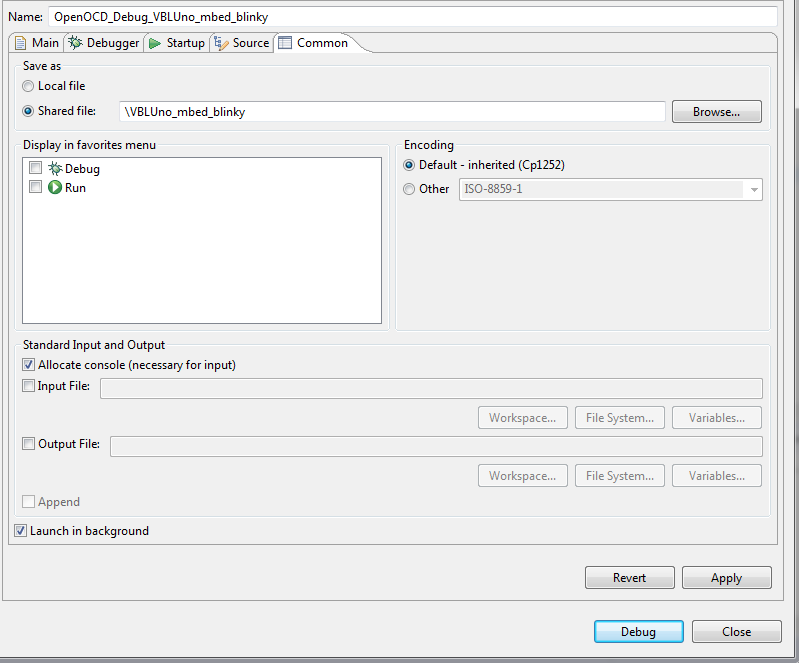
2.3. Debug with OpenOCD
To do the same with pyOCD, note the configuration in the following image:
OpenOCD also supports debug features like pyOCD
- As can be seen, the Eclipse + GNU ARM Eclipse plugin + GNU ARM Embedded toolchain + pyOCD, OpenOCD support developers to develop applications for the VBLUno51 board easily. A GUI-friendly programming environment, which allows convenient loading and debugging of the program, enhances the productivity of programmers.